Graphic Design Invoice Template

A graphic design invoice is a customizable billing form that gives graphic designers a way to charge their clients for custom-made graphics and other digital services. Sending a comprehensive and visually appealing invoice is not only important for organization and accounting, but leaves customers with a positive impression of the designer, increasing the likelihood of repeat business in the future.
What services can be included in the Invoice?
The field of Graphic Design includes a wide range of services – below are just a sample of the services that can be charged with the invoice:
- Logo Design
- Web Design
- Apparel and Merchandise
- Mobile App Design
- Art and Drawings
- Business Card Design
- Stationery
How to Write in PDF and Word
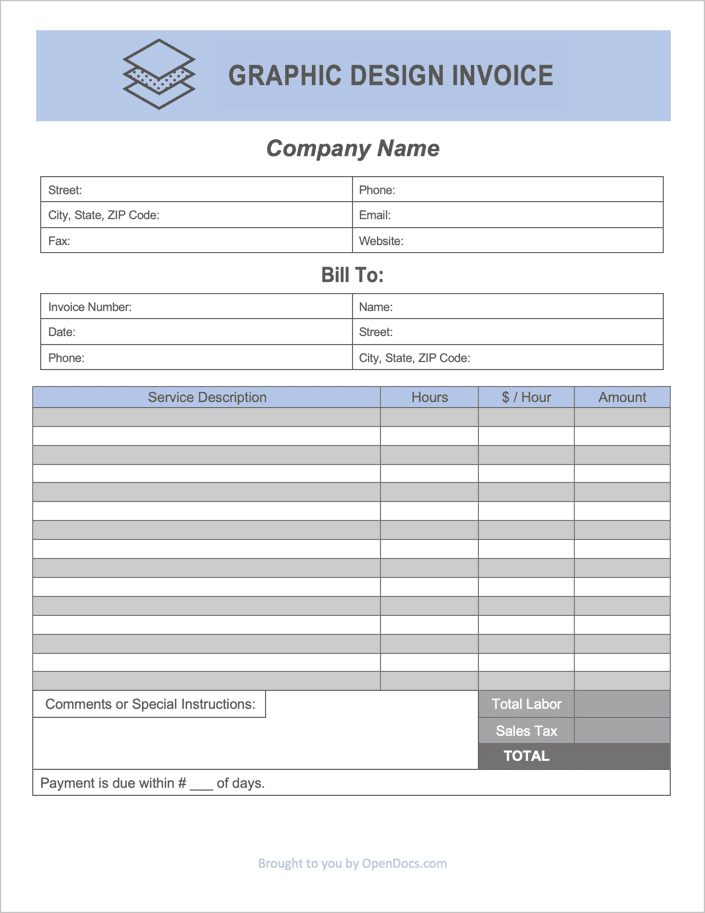
Step 1 – Download the invoice in PDF or WORD. Start off by entering the name of your company at the top of the document. If you are freelancing, either enter the name of the freelancer or leave the field blank. Proceed by entering your Address, Phone, Email, Website name, and Fax, into the area directly below the main header.
Step 2 – Similar to above, enter the client’s Contact Information in the ‘Bill To’ section.
Step 3 – Next, enter the services that have been completed for the client. Start with a brief Description of the work done, then enter the number of Hours for each service followed by the Hourly Rate. In the PDF version, the ‘Amount’ column will populate on its own. However, if using the Word Version, all amounts will need to be calculated by hand; this is done by multiplying the Hourly Rate by the Hours worked for each service.
Step 4 – Enter the TOTAL invoice amount by adding the Sales Tax for your state to the Total Labor. Add any comments or instructions for the client in the footer-area box followed by the number of days until the invoice is due. The Invoice is now ready to be sent to the client.
How to Write in Excel
Step 1 – Download the invoice in EXCEL.
Step 2 – Enter the Name of the company or freelancer designing the graphics. Then, in the fields below the name, enter the following:
- Company Address (Street, City, State, and ZIP)
- Company Phone & Fax Number (if applicable)
- Company Email
- Company Website

Step 3 – For the Bill To section, enter the Invoice Number assigned to the job, the Name of the client, the Date the invoice will be issued, the client’s Phone Number, and the Address of the client.
Step 4 – In the table, enter a Description of the service done, the amount of time allocated to each service (Hours), and the rate charged for the respective service ($ / Hour). The values of the Amount column and Total Labor cell will automatically calculate.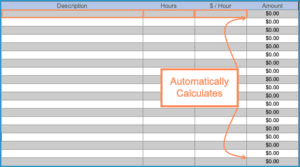
Step 5 – Enter the Sales Tax (in decimal format). The TOTAL cell will now display. Enter any Comments for the client followed by the Days until the invoice is required to be paid. The invoice is now complete and ready to be sent digitally or printed and mailed to the customer.