Standard Residential Lease Agreement Templates
A Standard Residential Lease Agreement is a legal contract formed between a landlord and a tenant that allows the tenant to live in a home, apartment, or condo in exchange for consistent rent payments. In contract terms, the person renting the property is called the “lessee,” and the landlord is formally known as the “lessor.” The common term of a standard lease is one (1) year, although the length is ultimately up to the landlord to decide.
Standard Leases by State
- Alabama
- Alaska
- Arizona
- Arkansas
- California
- Colorado
- Connecticut
- Delaware
- Florida
- Georgia
- Hawaii
- Idaho
- Illinois
- Indiana
- Iowa
- Kansas
- Kentucky
- Louisiana
- Maine
- Maryland
- Massachusetts
- Michigan
- Minnesota
- Mississippi
- Missouri
- Montana
- Nebraska
- Nevada
- New Hampshire
- New Jersey
- New Mexico
- New York
- North Carolina
- North Dakota
- Ohio
- Oklahoma
- Oregon
- Pennsylvania
- Rhode Island
- South Carolina
- South Dakota
- Tennessee
- Texas
- Utah
- Vermont
- Virginia
- Washington
- West Virginia
- Wisconsin
- Wyoming
Contents |
What is a Standard Residential Lease?

A standard residential lease agreement is a type of fixed-term lease, that once signed, requires the parties involved to adhere to the conditions outlined in the written contract. While a lease cannot physically prevent a tenant from damaging property or missing rent payments, it gives the landlord legal weight to evict the tenant as well as sue the tenant in order to collect any damages. The famous saying, “the best offense is a great defense,” couldn’t apply more to leasing; a landlord should ensure only tenants that pass an in-depth rental application be permitted to lease a property. Not only does this save needless headache down the road – it gives landlords ease of mind knowing they did all they could to ensure the tenant is occupied by trustworthy tenants.
The Leasing Process
From getting a rental up to code and advertised, to introducing the first tenants into a property, the rental process should be taken with great care and due diligence in order to do it right the first time. The overview below provides landlords and property owners with a checklist to get a rental property up and running.
Step 1 – Prepare the Home
Providing a deep clean isn’t enough. Before being ready to accept tenants, a rental property should be pest free, have working appliances, be up to code, and free of any hazards or dangers. Remember: attempting to cut costs will only delay the pain. The tenant(s) will complain and request repairs, or worse, bring the manager of the property to civil court. It’s always better to ensure everything is repaired and in good shape before accepting tenants.
The following form can be used for ensuring a property is ready to accept tenants:
Rental Property Checklist (Word | PDF)
Step 2 – Determine the Monthly Rent
The rent that is set for the property needs to cover any costs associated with the property and accurately reflect rent averages for the area. In total, the following should be considered when determining a rent price:
- Cover all expenses – The rent needs to cover all expenses relating to the home, including taxes, mortgage payments, property management services, and any repair/ongoing maintenance costs.
- Compare rentals in the area – Seeing what other rentals are going for in the area can provide a great ballpark value. However, it is imperative to only compare properties that are very similar to the property to be rented.
- Judge the current market – In an upmarket, rentals will be less desirable due to lower interest rates leading to an increase in homeownership. Rentals perform better in a downmarket, leading to a wider audience of rentals. Supply and demand leads to an ability to increase the rent price.
- Property value – By far the largest determinant of monthly rent is the value of the leased home or apartment. To calculate monthly rent based upon property value, take the total value of the rental and multiply anywhere from .08% to 1.1%.
Step 3 – Create a Lease Agreement
Using a state-specific lease agreement template, complete all applicable fields and save the document without any names or signatures on the agreement. This allows it to be easily reused for subsequent tenants. While writing the contract, check the local state laws to make certain that all fields are legal and sufficiently protect both parties. If the landlord wishes to lease the property on a monthly basis instead of on a yearly one, the month-to-month lease template should be used.
Step 4 – List the Property
To get the property in view of prospective tenants, the rental should be listed online. Taking the time to advertise the property in addition to listing it can give it the publicity it needs to obtain a quality tenant. While some may recommend advertising in a newspaper, with the onset of the internet and the convenience of listing a property with the click of a button, using an online platform is the recommended course of action for landlords and homeowners. The following websites are recommended for advertising an apartment or home rental property:
Step 5 – Screen Tenant(s)
Once a tenant has shown interest in the rental property, is given a full tour, and has requested to rent the property after the viewing, it’s the property owner’s job to require the tenant(s) to complete a rental application. This is a document that provides the owner with a comprehensive history of where the tenant has previously rented, a set of references (past renters, employers, etc.), their employment status and monthly income, any criminal history, whether they have pets or not, and personal information (such as their social security number) that allows the landlord to run a criminal and credit check on the tenant.
Without question, the landlord should request a fee for the application process. This does two (2) things: 1) it ensures only serious tenants apply, and 2) it covers the cost of running the application, which is typically around $20. The following are the types of answers that should make the property owner immediately deny the prospective tenant’s application:
- The applicant is unemployed
- Their monthly income is less than three (3) times the monthly rent
- A reference doesn’t give the applicant a positive review (or says anything other than they were perfect tenants)
- The tenant tries to argue or is confrontational at any point during the application
- The tenant has a poor credit score
- Have had an eviction or bankruptcy in the past ten (10) years
The above are just a sample of the types of answers that should result in a denied applicant. Before issuing an application, a landlord should already have created a set of parameters that result in an applicant being denied. This ensures the property manager is providing all applicants with an equal opportunity at housing.
Step 6 – Sign the Lease + Condition Checklist
If the applicant passes the rental application, the property owner should set a time and date for the parties to sign the lease agreement. The landlord should highlight all areas where the tenant(s) will need to sign the agreement to ensure a smooth process.
After the agreement is signed, the owner should collect the security deposit and the first month’s rent. The landlord should only accept a trusted payment source for the first month’s rent and security deposit – this can include cashier’s check or money orders.
Once the agreement has been signed and all payments collected, the parties should complete a full condition checklist of the property. This includes noting any damage (holes in walls, counterstains, non-working switches, etc.). It is recommended the landlord takes a video of the property in addition to pictures. This can provide a more detailed look at the property and include areas that otherwise wouldn’t be considered for pictures.
Once the tenant(s) have moved-in, the property owner will have officially accepted their first tenant.
How to Write a Residential Lease Agreement
Download
Before heading to the first step, save the template in Adobe PDF (.pdf) or Microsoft Word (.docx).
Note: The fields entered into the form below are examples only. The laws in which the rental is located should be consulted prior to completing the form, as each state has its own requirements for security deposits, evictions, defaults, and other conditions.
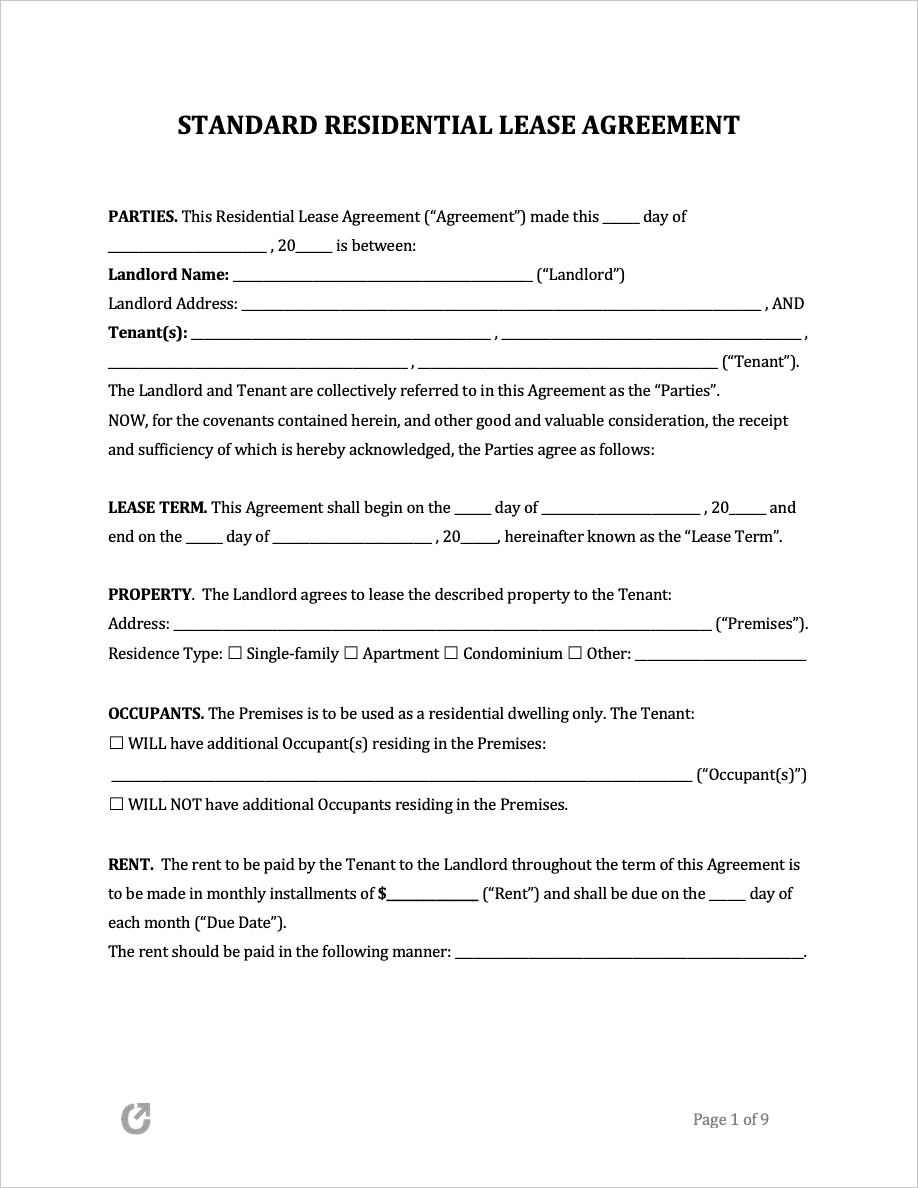
Step 1 – The Parties
Start by entering the current day, month, and year. Then, enter the:
- Full name of the Landlord, and
- The full name(s) of the Tenant(s)

Step 2 – Lease Term
Enter the full beginning and end dates in which the lease will be in effect. The standard length is one (1) year, although this time can be changed if both parties agree to do so.

Step 3 – Property
Enter the full address of the rental (including the unit, if applicable).

Step 4 – Monthly Rent
After the dollar sign ($), enter the full cost of the monthly rent. This is the total rent regardless of the number of tenants occupying the unit.
Step 5 – Late Charge / Returned Checks
Enter the following in the four (4) provided fields:
- The number (#) of days that have to pass before the landlord can end the lease,
- The number (#) of days before the landlord can charge a late fee,
- The dollar amount ($) for a late fee the tenant(s) would be required to pay, and
- The dollar amount ($) for a fee due to a returned check.

Step 6 – Utilities
On the lines provided, list what utilities will be paid for by the landlord. Any utilities not included will be the responsibility of the tenant.
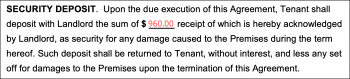
Step 7 – Security Deposit
Enter the amount ($) the tenant(s) will be required to pay for a security deposit upon move-in. The state laws in which the rental is located should be researched to ensure the deposit is within the maximum that can be charged. If it is required by law to return any accumulated interest to the tenant(s), the template should be edited to match said requirements.
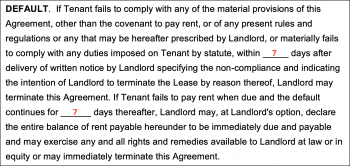
Step 8 – Default
Enter:
- The number of days that have to pass (after the delivery of a notice) until the landlord can terminate the agreement, and
- The number of days after default in which the landlord can require all rent be immediately due (and execute other rights as permitted by the lease).
Step 9 – Abandonment
Input the number of days that need to pass, after which the landlord can deem the rental as “abandoned”.
Step 10 – Smoke Detectors
In the visible field, enter the number of days the tenant(s) have to confirm the smoke detector(s) are working after they move into the property.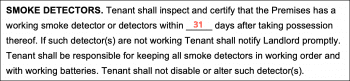
Step 11 – Governing Law
The state in which the rental is located.

Step 12 – Additional Provisions (Optional)
If there is additional information the landlord would like to provide the tenant(s), they can do so in the lines provided.
Step 13 – Landlord’s Signature
Above the space for the landlord’s signature, enter the current date (day, month, and year).
Then, the landlord will need to handwrite (or electronically sign) their name, print their name in full, and enter the date in which they recorded their signature.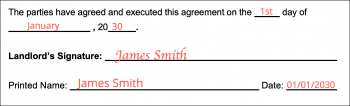
Step 14 – Tenant(s) Signature(s)
Each tenant (up to four total tenants), will need to write their:
- Signature (e-signed or handwritten),
- Full printed name, and
- The date of their signature.