Handyman Invoice Template
A handyman invoice gives part and full-time handymen a way of collecting payment from their customers. It can be used for listing any type of around-the-house installation, repair, maintenance, or other services.
The form can be used for listing labor and/or any products the handyman had to purchase in order to get the job done. Included in the invoice are sections for both the handyman and client’s contact information, a table for listing all charges, an area to specify when the invoice is due, a field for accepted payment methods, and a note box for comments.
How to Fill-in the Invoice
Step 1 – Download the invoice in PDF, WORD, or EXCEL.
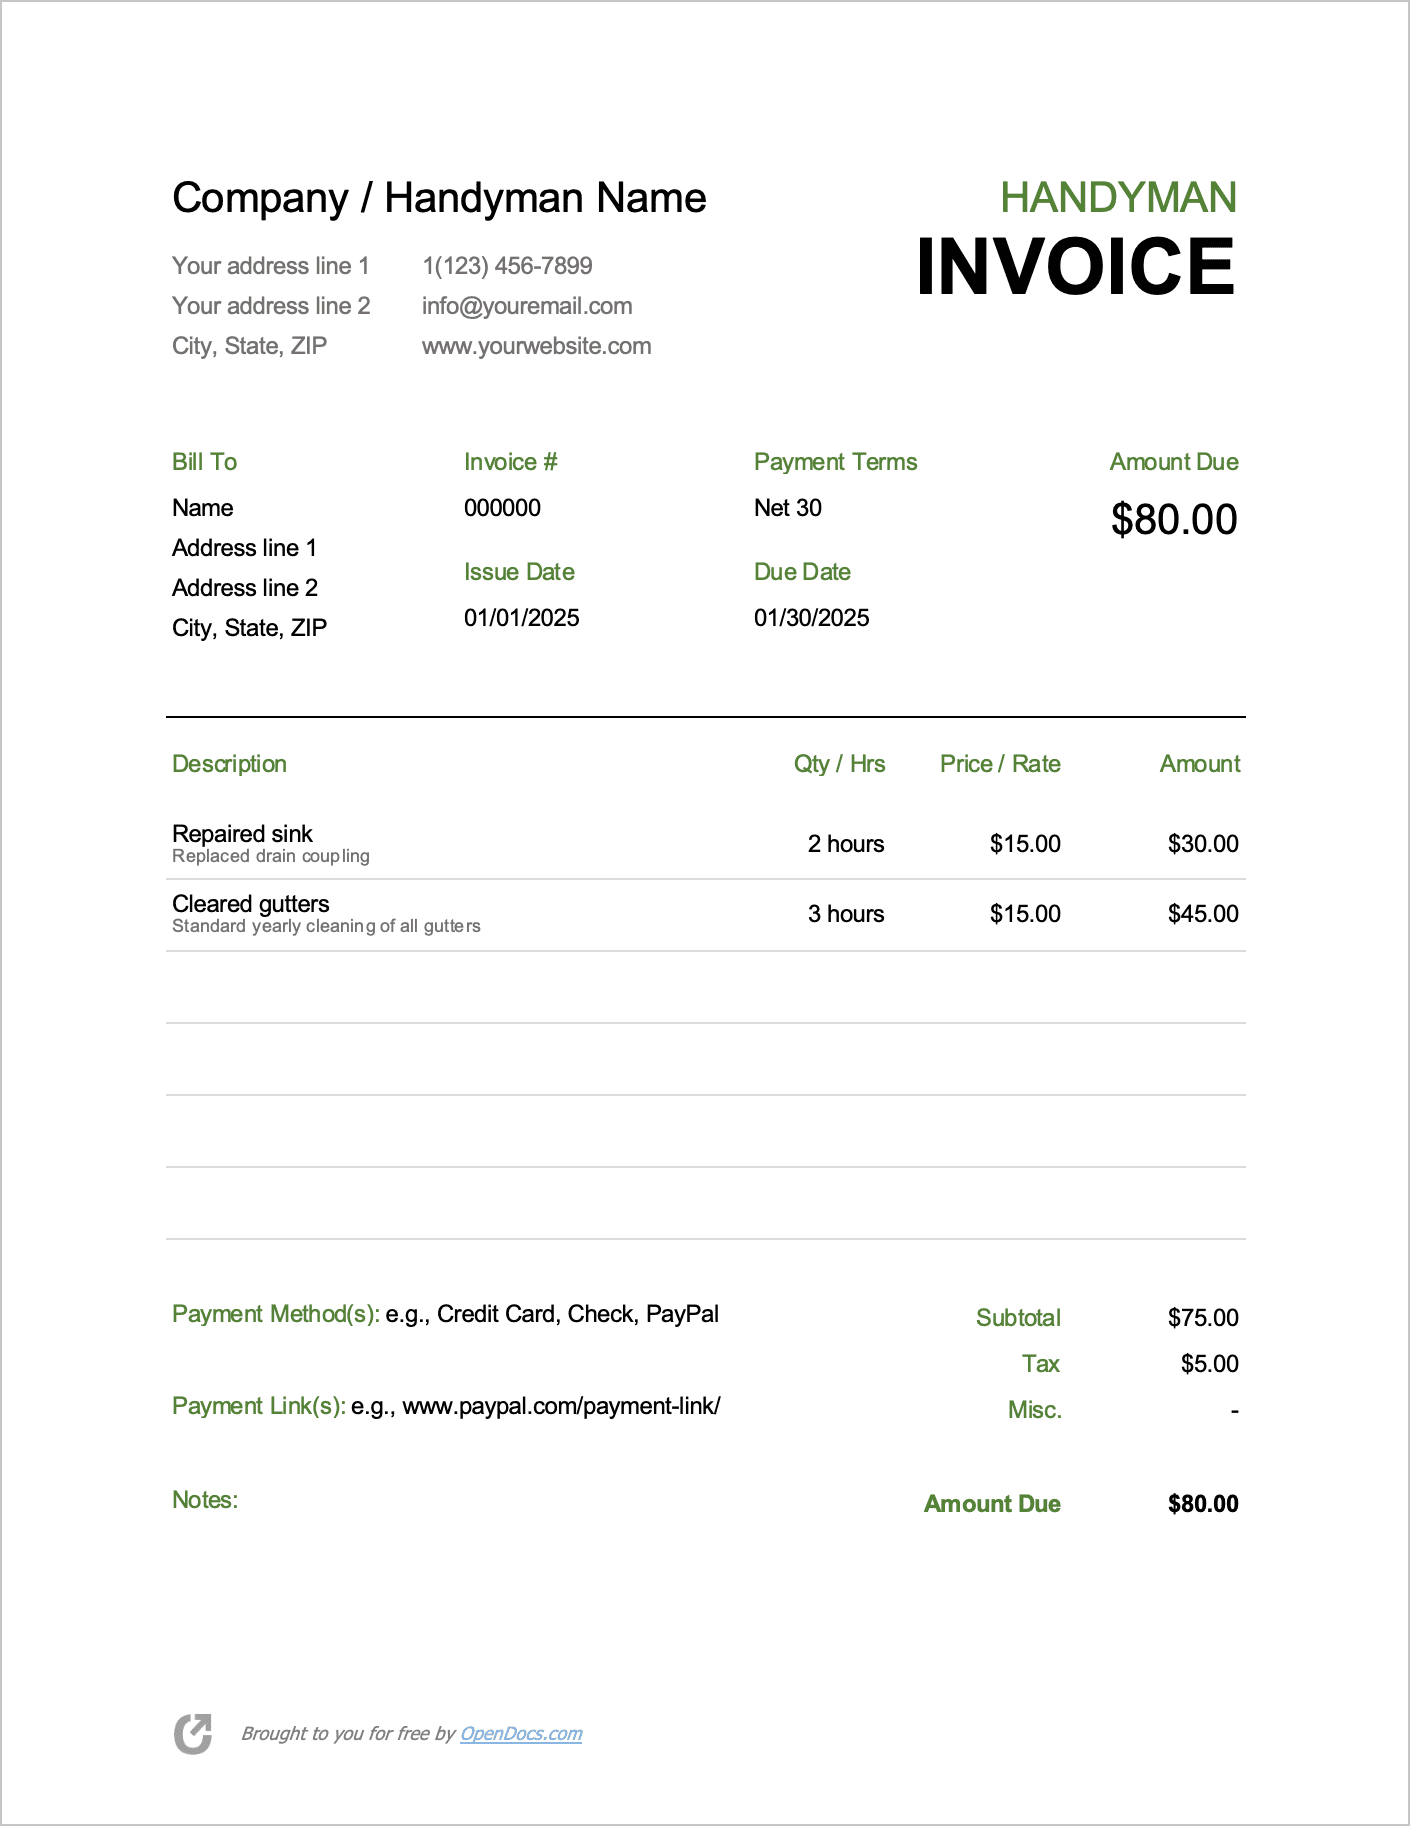
Step 2 – At the top of the document, type the name of your handyman company or enter your full name. Then, below that enter your contact details, including your address, phone number, website, and email. If one of the fields doesn’t apply, it can be left blank (it will not show when printed). It is very important that the handyman leaves some form of contact info should the client have a question after receiving the form.
Step 3 – Next, in the ‘Bill To’ section, enter the client’s name and address. To the right of the client’s information, the handyman can enter the following:
- A unique invoice number (e.g., 12256)
- Payment terms (how many days the client has to pay; e.g., Net 30)
- The invoice date (this is the date the invoice was delivered or given to the client)
- The invoice due date (this is when the client has to have the invoice paid by).
Step 4 – Next, the handyman will need to list the services they provided, as well as any products they needed to purchase in order to complete the job. The “Qty / Hrs” section is for listing the number of a product that was purchased OR the number of hours it took to complete the task. The “Price / Rate” column is for entering the cost of each product OR the hourly rate the handyman charged. After multiplying the “Qty / Hrs” and the “Price / Rate” columns together, type the result in the “Amount” column to the right.
Step 6 – At the bottom of the document, the handyman can list the payment method(s) they accept (such as PayPal, cash, check, and so on), the links the client can use to pay (if PayPal is accepted, for example), and they can list any notes about the service they provided.
Step 7 – Finally, the handyman will need to sum the “Amount” column and enter it into the “Subtotal” field. Any tax can be added as well, and should be added to the “Subtotal” in order to calculate the “Amount Due”.
The invoice is now complete. By completing all of the re-used fields (and leaving the table blank), it can serve as a template each time the handyman needs to collect payment for their hard work.