HVAC Invoice Template
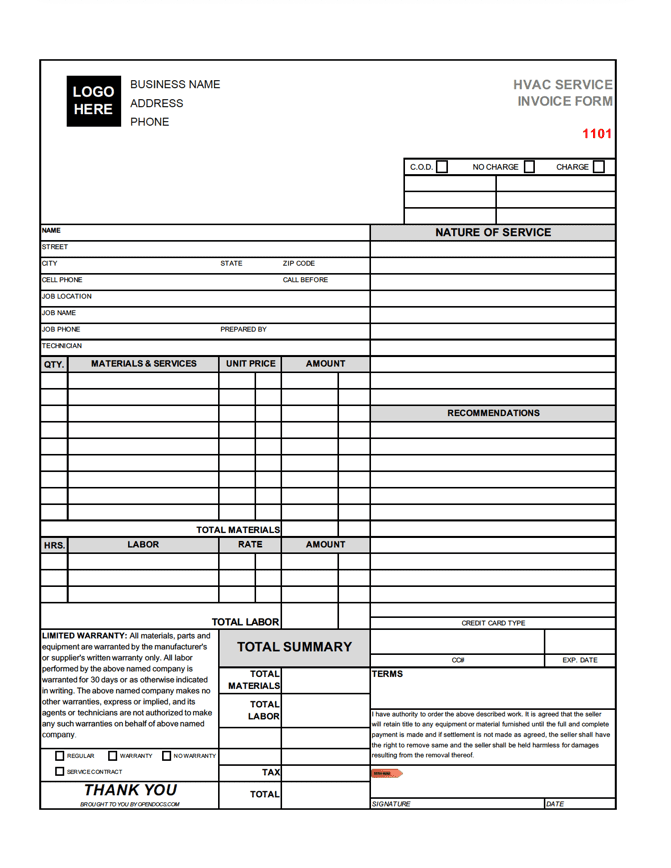

The HVAC Invoice Template is a bill issued by a company to its customers that lists the product and service expenses that were accrued during the installation, repair, or general service of HVAC equipment, materials, and units. In general, HVAC invoice templates need to be professionally designed in order to fully capture both the complexity and the sheer amount of information that is common to the job, while simultaneously painting an easy-to-understand picture for the client to provide they are left doubt-free as to the exact costs associated with the project or task.
Looking for a simpler invoice? Check out the Simple Invoice Template.
How to Write in PDF & Word
Step 1 – Download
Download the HVAC invoice in Adobe PDF or MS Word (.docx).
Step 2 – Business Information
Starting in the top-left corner, enter the Name of the HVAC company, its Address, and the office Phone Number.
To insert a company Logo on the invoice using Adobe PDF, do the following:
- Delete the black “Logo Here” placeholder by first selecting “Tools,” then “Edit.”
- In Edit mode, click and drag a square over the “Logo Here” box – then let go once the square is completely covering the box. It should now be highlighted, to which it can be deleted by hitting the “delete” key on the keyboard.
- To add a company logo, hit “Add Image” at the top of the page (it’s two (2) spots over from the “Edit” button).
- Select the desired image from your computer and click “Open” once the correct logo has been selected.
- Drag the logo to the upper-left hand corner, and click once it is in the desired position.
- To resize the logo, the edges can be dragged until the correct size is reached – once satisfied, make sure to save the document.

Step 3 – Customer & Technician Details
Looking at the left side of the invoice, enter the Full Name of the client, their Address (Street, City, State, and ZIP Code), their Cell Phone Number, the time at which they should be Called Before (e.g “2 PM”), the Location of the job, the Job Name, Job Phone (phone of the technician working on the job), who Prepared the invoice or job, and the Name of the technician.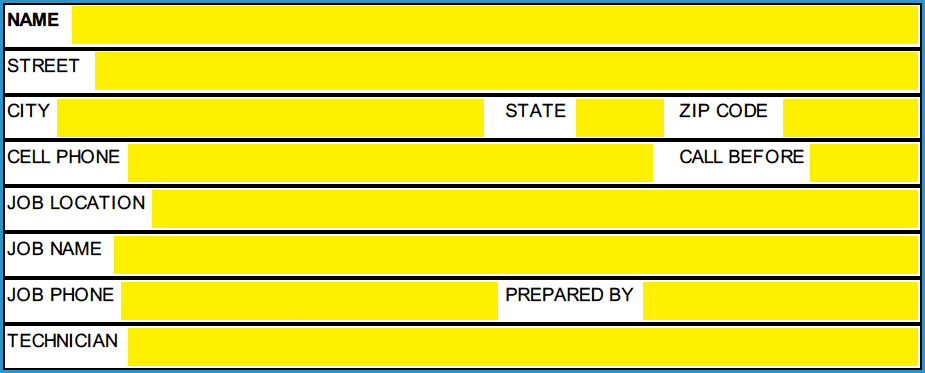
Step 4 – Materials & Services Expenses
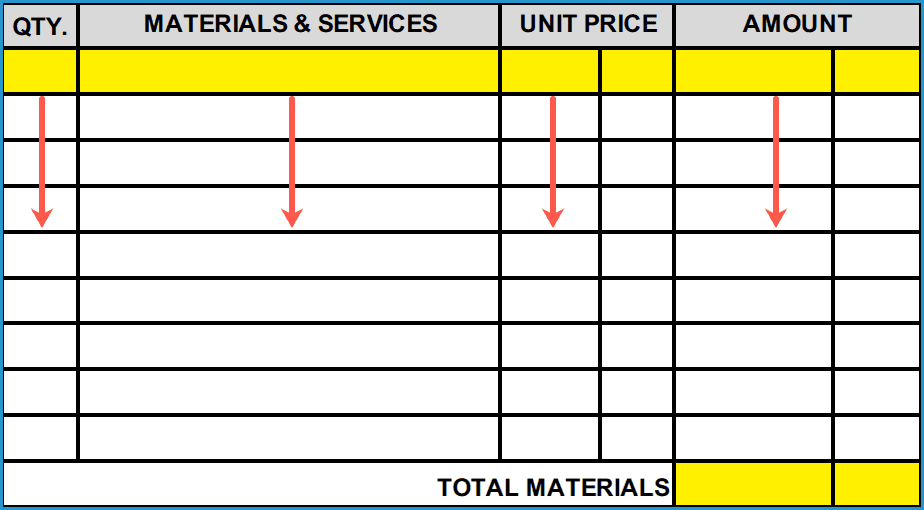
Below the client info, enter the charges that were amassed during the job. This will require the following to be inputted:
- Qty. (Quantity) – The number of Materials or Services that were purchased or used during the job.
- Materials & Services – A very brief description of either the product or service being charged.
- Unit Price – The dollar amount of a single material or service.
- Amount – Calculated by multiplying the Qty by the Unit Price.
- Total Materials – Found by adding up every entry in the “Amount” column.
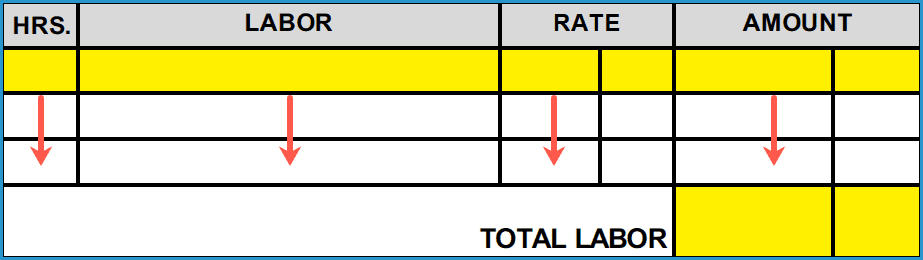
Step 5 – Labor
For listing the hourly work, enter:
- Hrs. – The number of hours that were dedicated to a single task or job.
- Labor – Enter a few words describing the work that was done,
- Date – The date in which the work was completed.
- Amount – Found by multiplying the Hrs. by the Rate.
- Total Labor – Sum the “Amount” column to obtain this value.
Step 6 – Total Summary
Beneath the “Total Summary” text, enter the previously calculated “Total Materials” and “Total Labor” into their respective fields, enter any miscellaneous costs in the empty fields (if none, leave blank), enter the taxes into the “Tax” cell, and sum all of these values to obtain the “Total” invoice amount. To the left of the total, check the box corresponding to the category of the work completed.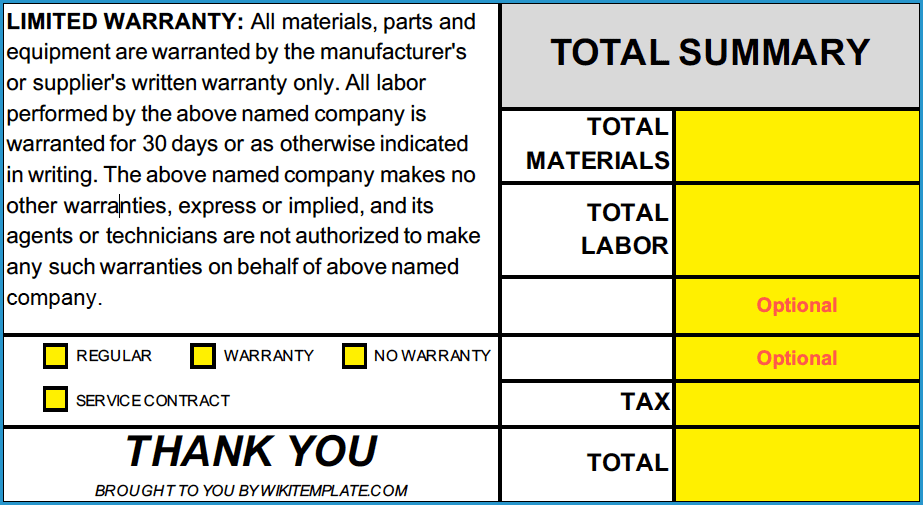
Step 7 – Job Info
Looking at the top-left of the template, check the box corresponding to how the client was (or will be) charged. “C.O.D” stands for “Cash on Delivery” – delivery referring the completion of the task or project. In the Nature of Service area, enter the type of work completed. Examples include “Heating and Cooling Split Systems, “Heating and Air,” or “Hybrid Heat Pump” to name a few. In the Recommendations area, the technician can list recommendations for the client, notes about what was done, or anything else that the customer should be informed about.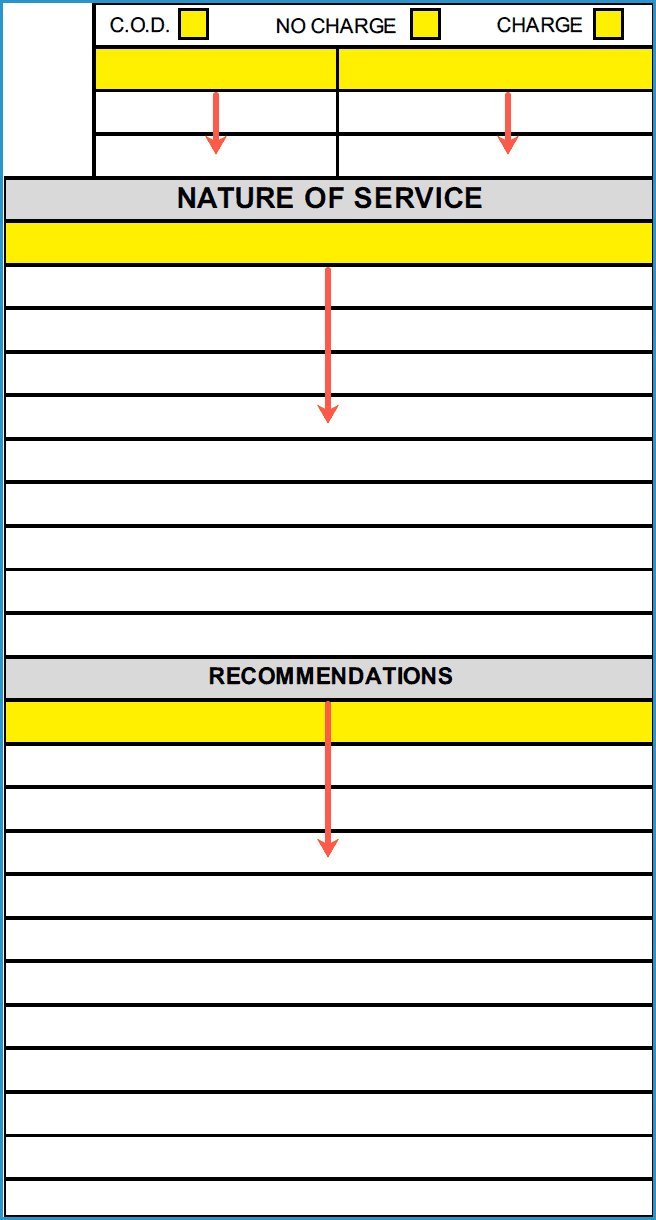
Step 8 – Payment & Signature
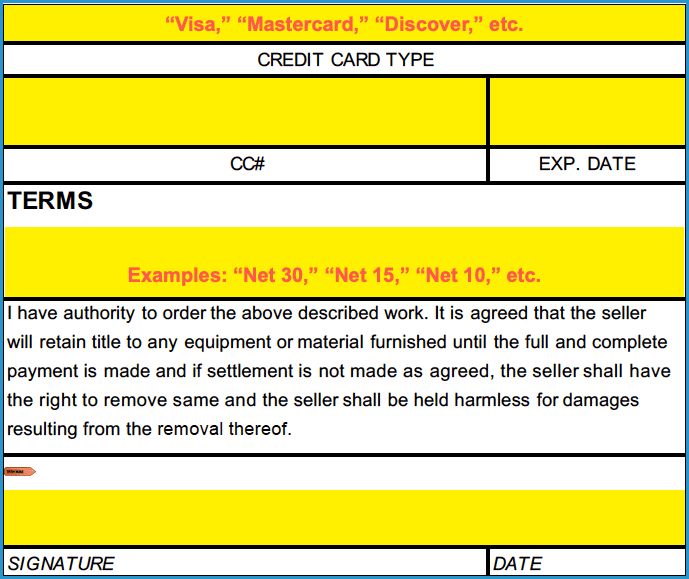
In the bottom-left part of the document, the customer’s Credit Card info can be recorded if that is the selected method of payment. If a different form of payment will be utilized (such as cash or check), leave the area blank. Beneath this, the Terms for the agreement can be stated. This is the length of time the client has to pay for the job. It is typically written as “Net ___” where “Net 30” would refer to the customer having thirty (30) days to pay after receiving the invoice. Upon completion of the previous steps, the customer will then need to Sign and Date the invoice.