Photography Invoice Template

The Photography Invoice Template is a document issued by photographers to their customers to charge them for any pictures taken and their time. This is the preferred invoice layout for photographers working at events because it enables them to separate charges from their products and services for efficient bookkeeping. The template contains fields to enter the customer’s contact information, the transaction details (such as an invoice number) and the product and service details. We also designed the template to calculate the ‘Amount’ fields automatically (PDF & Excel only) – saving you both time and energy. Below is a how-to guide for completing the invoice in both PDF and Word.
How to write in PDF and Word
Step 1 – Download the Photography Invoice in Adobe PDF or Microsoft Word (.docx).
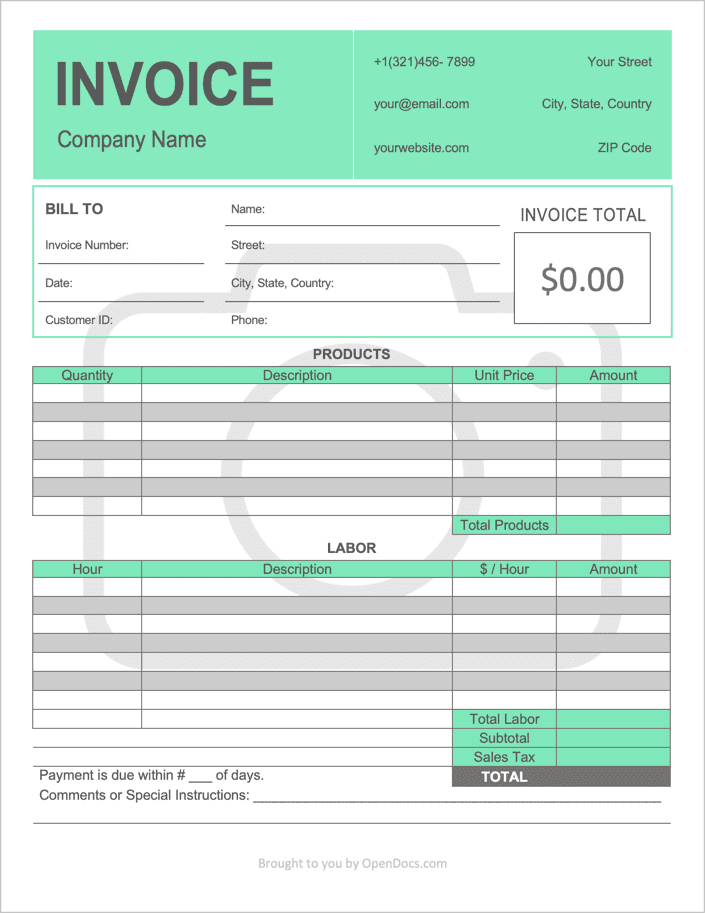
Step 2 – Enter the Company Name (or the name of the freelancer) followed by the Contact Information of the photographer or company.
Step 3 – Complete the Bill To section. The following information will need to be recorded:
- Invoice Number
- Date (the service(s) took place)
- Customer ID
- Client Name
- Address (Street, City, State, Country, and ZIP)
- Client’s Telephone Number
The ‘Invoice Total’ field will calculate automatically if using the PDF format. If using the Word template, enter the total invoice amount after calculating the amount in Step 6.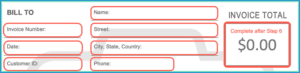
Step 4 – In the Products table, enter the items the client purchased or were expended during the service(s) performed. Tools or materials that can be used for more than one job should not be included here. Start by entering a brief Description of each type of product, then head to the far left of the table and enter the Number of products purchased. Then enter the Unit Price of a single product, and multiply this value by the number of products for each row. Sum the Amount column and enter the result into the Total Products field.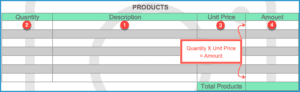
Step 5 – In the table directly below, enter the Services that were completed for the client. Much like the fourth (4th) step, multiply the number of Hours each service took to complete by the Hourly Rate set by the photographer, sum the resulting Amounts, and enter the result into the Total Labor cell.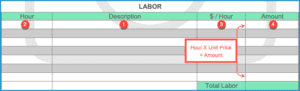
Step 6 – Calculate the final invoice amount by adding on any Sales Tax to the Subtotal field, which is the sum of the Total Products and Total Labor fields. The TOTAL amount will then be displayed. Enter any Comments for the client, such as accepted payments or a more detailed product description. Then, complete the form by entering the number of Days the customer has to pay for the products and services. It is recommended that the photographer withholds the photos until the invoice is paid in full.