Printable Invoice Template
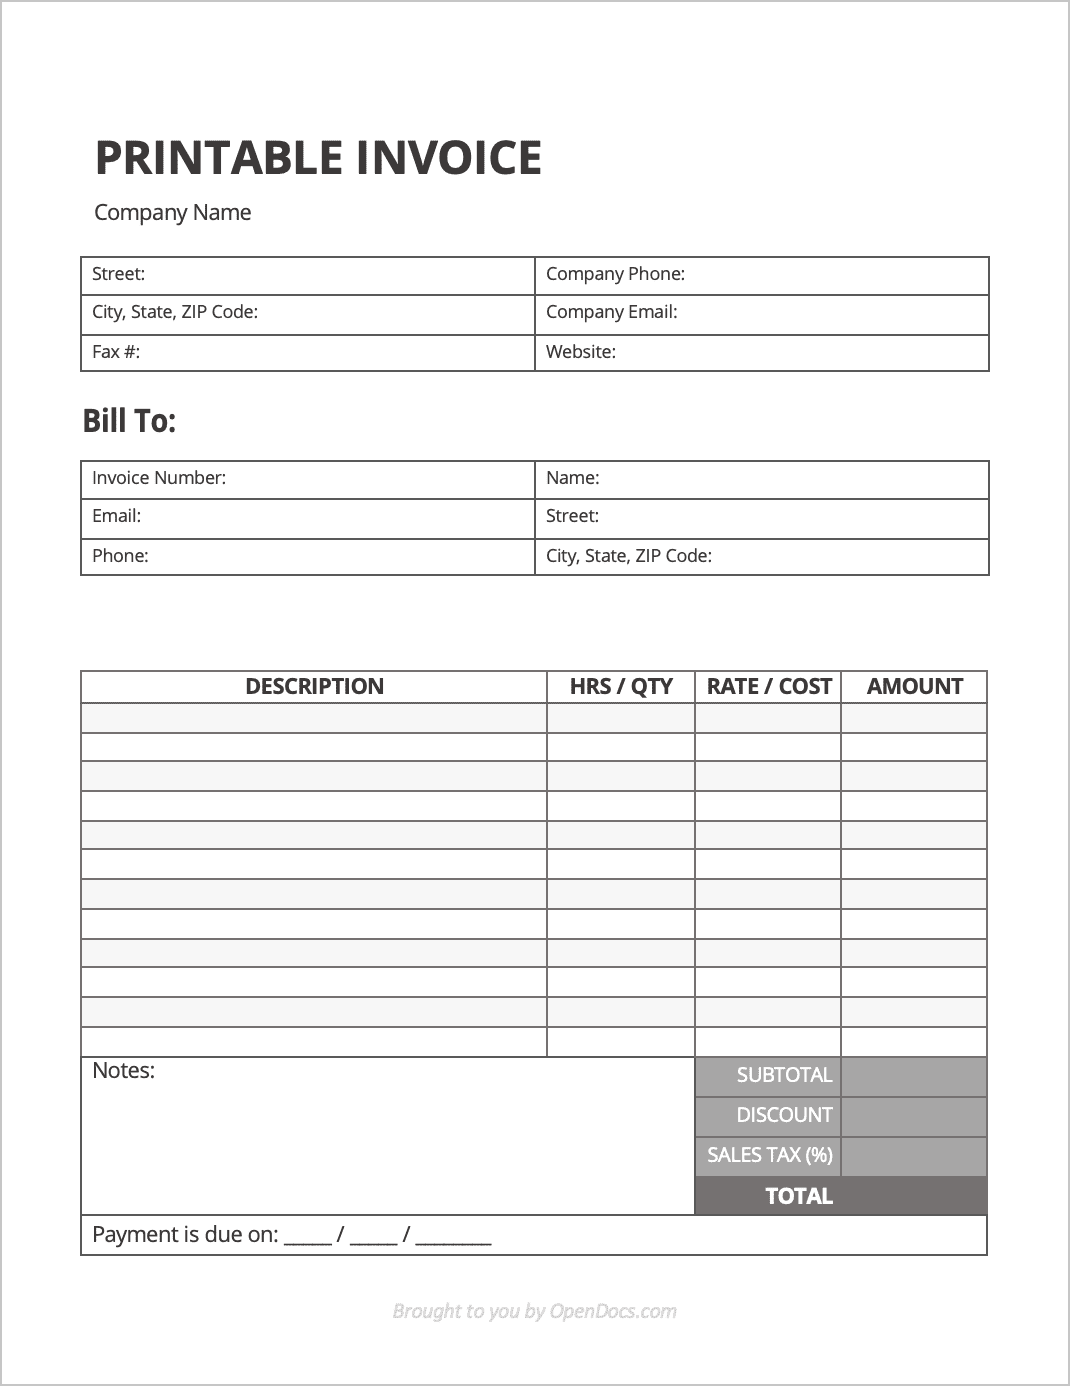
A printable invoice template is a blank billing form used for collecting payment on sold goods or services. Unlike digital invoices, the form can be easily printed and then filled out by hand. Printable invoices are popular in fields such as HVAC work, automobile repair, appliance installations, contracting, and professions that require completing the invoice at a moment’s notice or in the presence of the customer.
How to Print with Adobe Acrobat
To print the invoice in Adobe Acrobat, start by downloading the template in Adobe PDF (.pdf). Then, open the file. It should open in Adobe Acrobat. If it doesn’t, head to Acrobat and select the “File” tab at the top of the page. Then, select “Open”. A folder will appear. Select the form from the “Downloads” folder or wherever the invoice was saved to. It will now open in Acrobat.
Step 1 – Select “File”
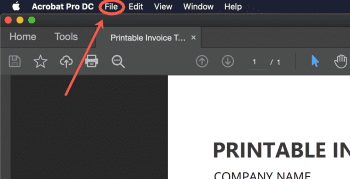
Once open, select the “File” tab at the top of the page. The button is located second from the left at the top of the page.
Step 2 – Select “Print…”
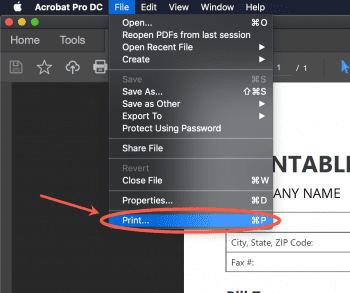
A dropdown will appear after selecting the “File” tab. The last option on the dropdown will say “Print…”. Select this option.
Step 3 – Select the Printer
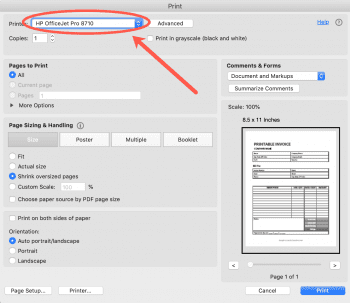
A new window will appear after the “Print…” option is selected. In the upper-left of the window, there will be text that says “Printer:” next to a dropdown tab. In the tab will be the name of the printer currently in queue. This is shown in the example image below. If a different printer would like to be used, select the dropdown tab and select the correct printer from the list.
Step 4 – Click “Print”
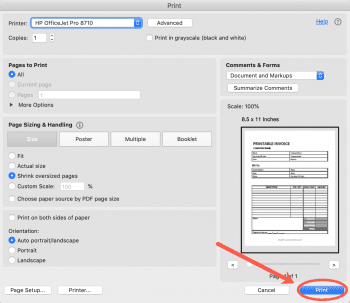
Once a printer has been selected, look to the lower-left of the window and select the blue “Print” button. The document will now print so long the printer is connected to power, has enough paper, and sufficient ink levels.
How to Write
Step 1 – Download
Save the invoice in Adobe PDF (.pdf) or Microsoft Word (.docx).
Step 2 – Company Contact Info
At the top of the form, write the name of the company in replacement of the text “Company Name”.
Then, enter/write the following information on the providing company, contractor, or freelancer (where applicable):
- Street address,
- City, State, and ZIP code,
- Fax number (if one exists),
- Company phone number,
- Company email address, and
- Company website.
Step 3 – Billing Info
At the top of the client table, write the invoice number. This is a value of numbers and/or letters that allows the provider to easily track the job/order. In order for the client to be contacted after services have been rendered or the product(s) sold, record the following information (either with them present or over the phone):
- Full name,
- Street address, City, State, and ZIP code,
- Email address, and
- Phone number.
Step 4 – Product / Service Description
In the “Description” field, write a brief summary of the service or product sold to the customer. If the customer was sold a service, enter the number of hours dedicated to providing the service. If the customer was sold a product, enter the number (quantity) of products purchased. In the next column, enter the hourly rate ($/hr) or the unit cost of the product. Multiply both the “HRS/QTY” and the “RATE/COST” columns and write the result into the “AMOUNT” column.
Step 5 – Totals
Sum the “Amount” column to calculate the “Subtotal”. If the client will be offered a discount, write the dollar-amount ($) of the discount into the appropriate field. Multiply the discounted subtotal by the necessary tax rate (%), and add on the tax to the final value. Then, write the total amount owed by the customer in the “TOTAL” cell.
Step 6 – Notes
If there is anything important about the service(s) or product(s) that the customer should know about, enter it into the “Notes” space. Finally, enter the day, month, and year that the total amount that the customer needs to pay the invoice by.