Proforma Invoice Template
A proforma invoice template is an estimation that is sent in advance of shipped goods for approval by the customer. It can also be used as a quote, giving the customer a sense of what a product would cost before going through with the order.
Because the proforma invoice is not the ‘official’ invoice, unlike the one sent once work is complete, the buyer should understand the proforma invoice is subject to change – as unexpected costs, events, or a longer-than-expected job can all increase the final invoice amount.
Benefits of sending a Proforma Invoice
- It provides the seller and buyer with a general idea of what the labor and products will cost.
- It doesn’t have to look perfect – it’s only a rough outline of what the buyer should expect.
- Fosters accountability and trust between both parties.
Commercial Proforma Invoices
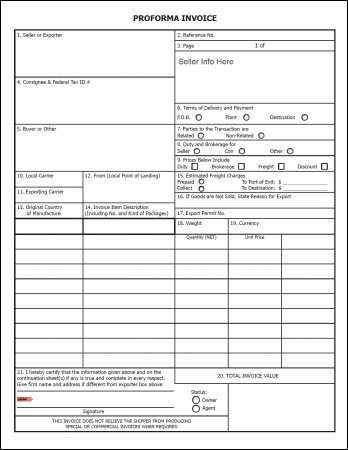
FedEx Proforma Invoice – Used by companies for shipping their products via the shipper FedEx. A form needs to be individually printed-out and inserted into each shipped package (cannot use 1 for multiple).
Download – PDF
UPS Commercial Invoice – If an individual or company will be shipping goods out of the US with UPS (United Parcel Service), they must complete this form to ensure the proper tariffs/taxes are charged on the goods.
DHL Proforma Invoice – For use with DHL shipping only. Provides buyers with the total cost of an order in addition to shipping.
Additional Versions
Proforma Invoice (Version 2) – A one (1) page invoice that includes ample room for listing all products and contains a signature field for approval.
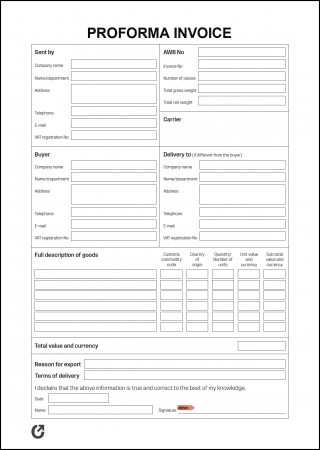
Proforma Invoice (Version 3) – Includes fields for VAT and other international shipping fields.
How to Write in PDF and Word
Step 1 – Download
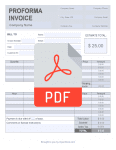
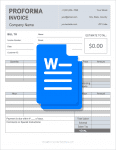
Download the Proforma Invoice in either PDF or WORD.
Step 2 – Company Contact Information
Start by entering the name of the company issuing the invoice in the upper-left corner. Then, enter the following regarding the company in the upper-right corner:
- Company Phone Number
- Website
- Address (Street, City, State, and ZIP Code)

Step 3 – Client Details
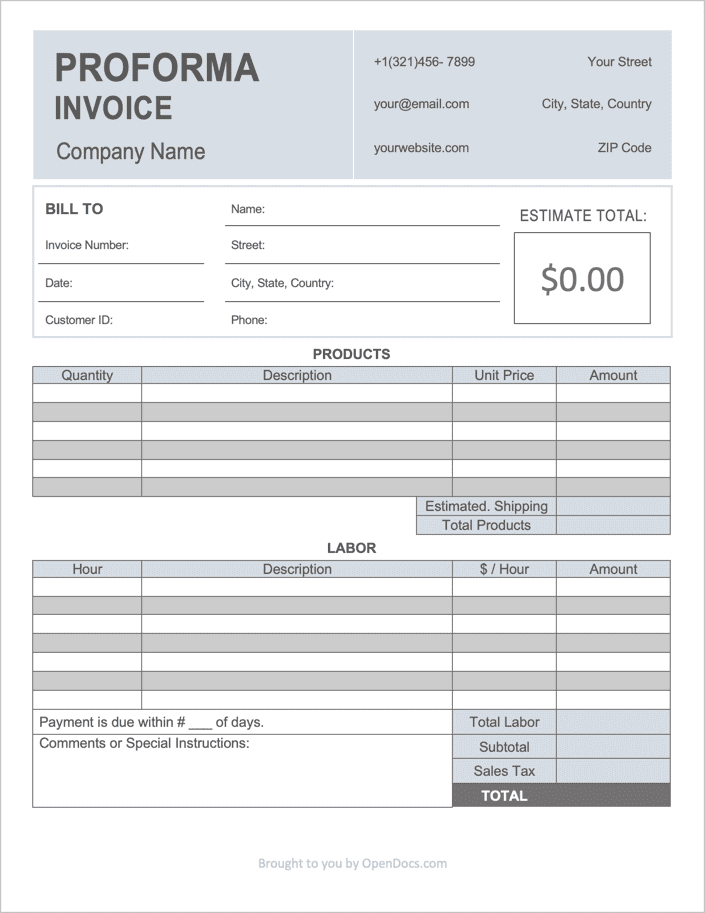
For the ‘Bill-to’ section, enter the name of the individual or company being billed, the invoice (or quote) number, their customer ID (if applicable), address, and the date that the invoice will be issued.

Step 4 – Products Sold
Next, in the first table, enter the products the client is being charged for. In the PDF version, the amounts will calculate automatically. In the Word version, the seller will need to calculate each amount field manually. Once the first table has completed, repeat the process for any labor services being charged.

Step 5 – Labor Cost
For the Word version, multiply the ‘subtotal’ field by the ‘sales tax’ field, and add the result to the ‘subtotal’ amount to find the invoice’s ‘total’ amount. Enter this value into the capitalized ‘TOTAL’ field. For the PDF version, to ensure the ‘Total’ calculates correctly, enter the ‘sales tax’ in decimal format.

Step 6 – Payment Info + Comments
At the bottom of the document, enter the number of days the client has to pay the invoice in full. Then, in the comments box, enter any notes or info the seller has for the buyer. This can include a thank-you to the buyer or an address for them to send the invoice payment. The Proforma Invoice is now complete.

How to Write in Excel / Sheets
Step 1 – Download the Invoice
Start by downloading the Proforma Invoice in Microsoft Excel (.xlsx) or Google Sheets.
Step 2 – Company Contact Details
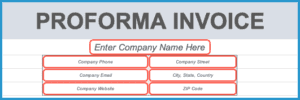
Begin by entering the name of the company directly below the main title. Then, enter the company’s contact information, of which includes the company’s phone number, website URL, email, and street address.
Step 3 – Client Information
Next, enter the contact information of the individual or company being billed, which includes the following fields:
- Invoice Number
- Date Issued
- Due Date
- Client’s Email
- Name
- Address (Street, City, State, and Country)
- Phone Number

Step 4 – Products & Labor Charges
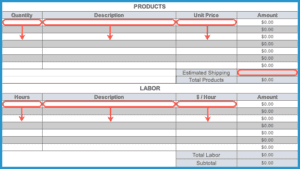
In the ‘Products’ table, enter the number of items being sold, a short description of each product, and the cost of a single item. The ‘amount’ fields will automatically calculate. At the bottom of the table, enter the estimated shipping cost to ship the goods to the client. In the ‘Labor’ table, enter the number of hours applied to each service as well as the hourly rate for each service-type. As before, the field on the far-right will calculate on its own.
Step 5 – Tax, Totals, and Days Until Due
At the bottom of the ‘Labor’ table, enter the state’s sales tax (as a percent) in the ‘sales tax’ field. The ‘TOTAL’ field will now display the full invoice amount. To the left of the ‘TOTAL’ cell, enter how many days the client has to pay the invoice in full.

Step 6 – Final Comments
In the ‘Comments or Special Instructions’ box, enter any miscellaneous info for the client, such as payment instructions or amount corrections. The Proforma Invoice is now complete and can be printed or sent to the client digitally.

