Body Shop Invoice Template
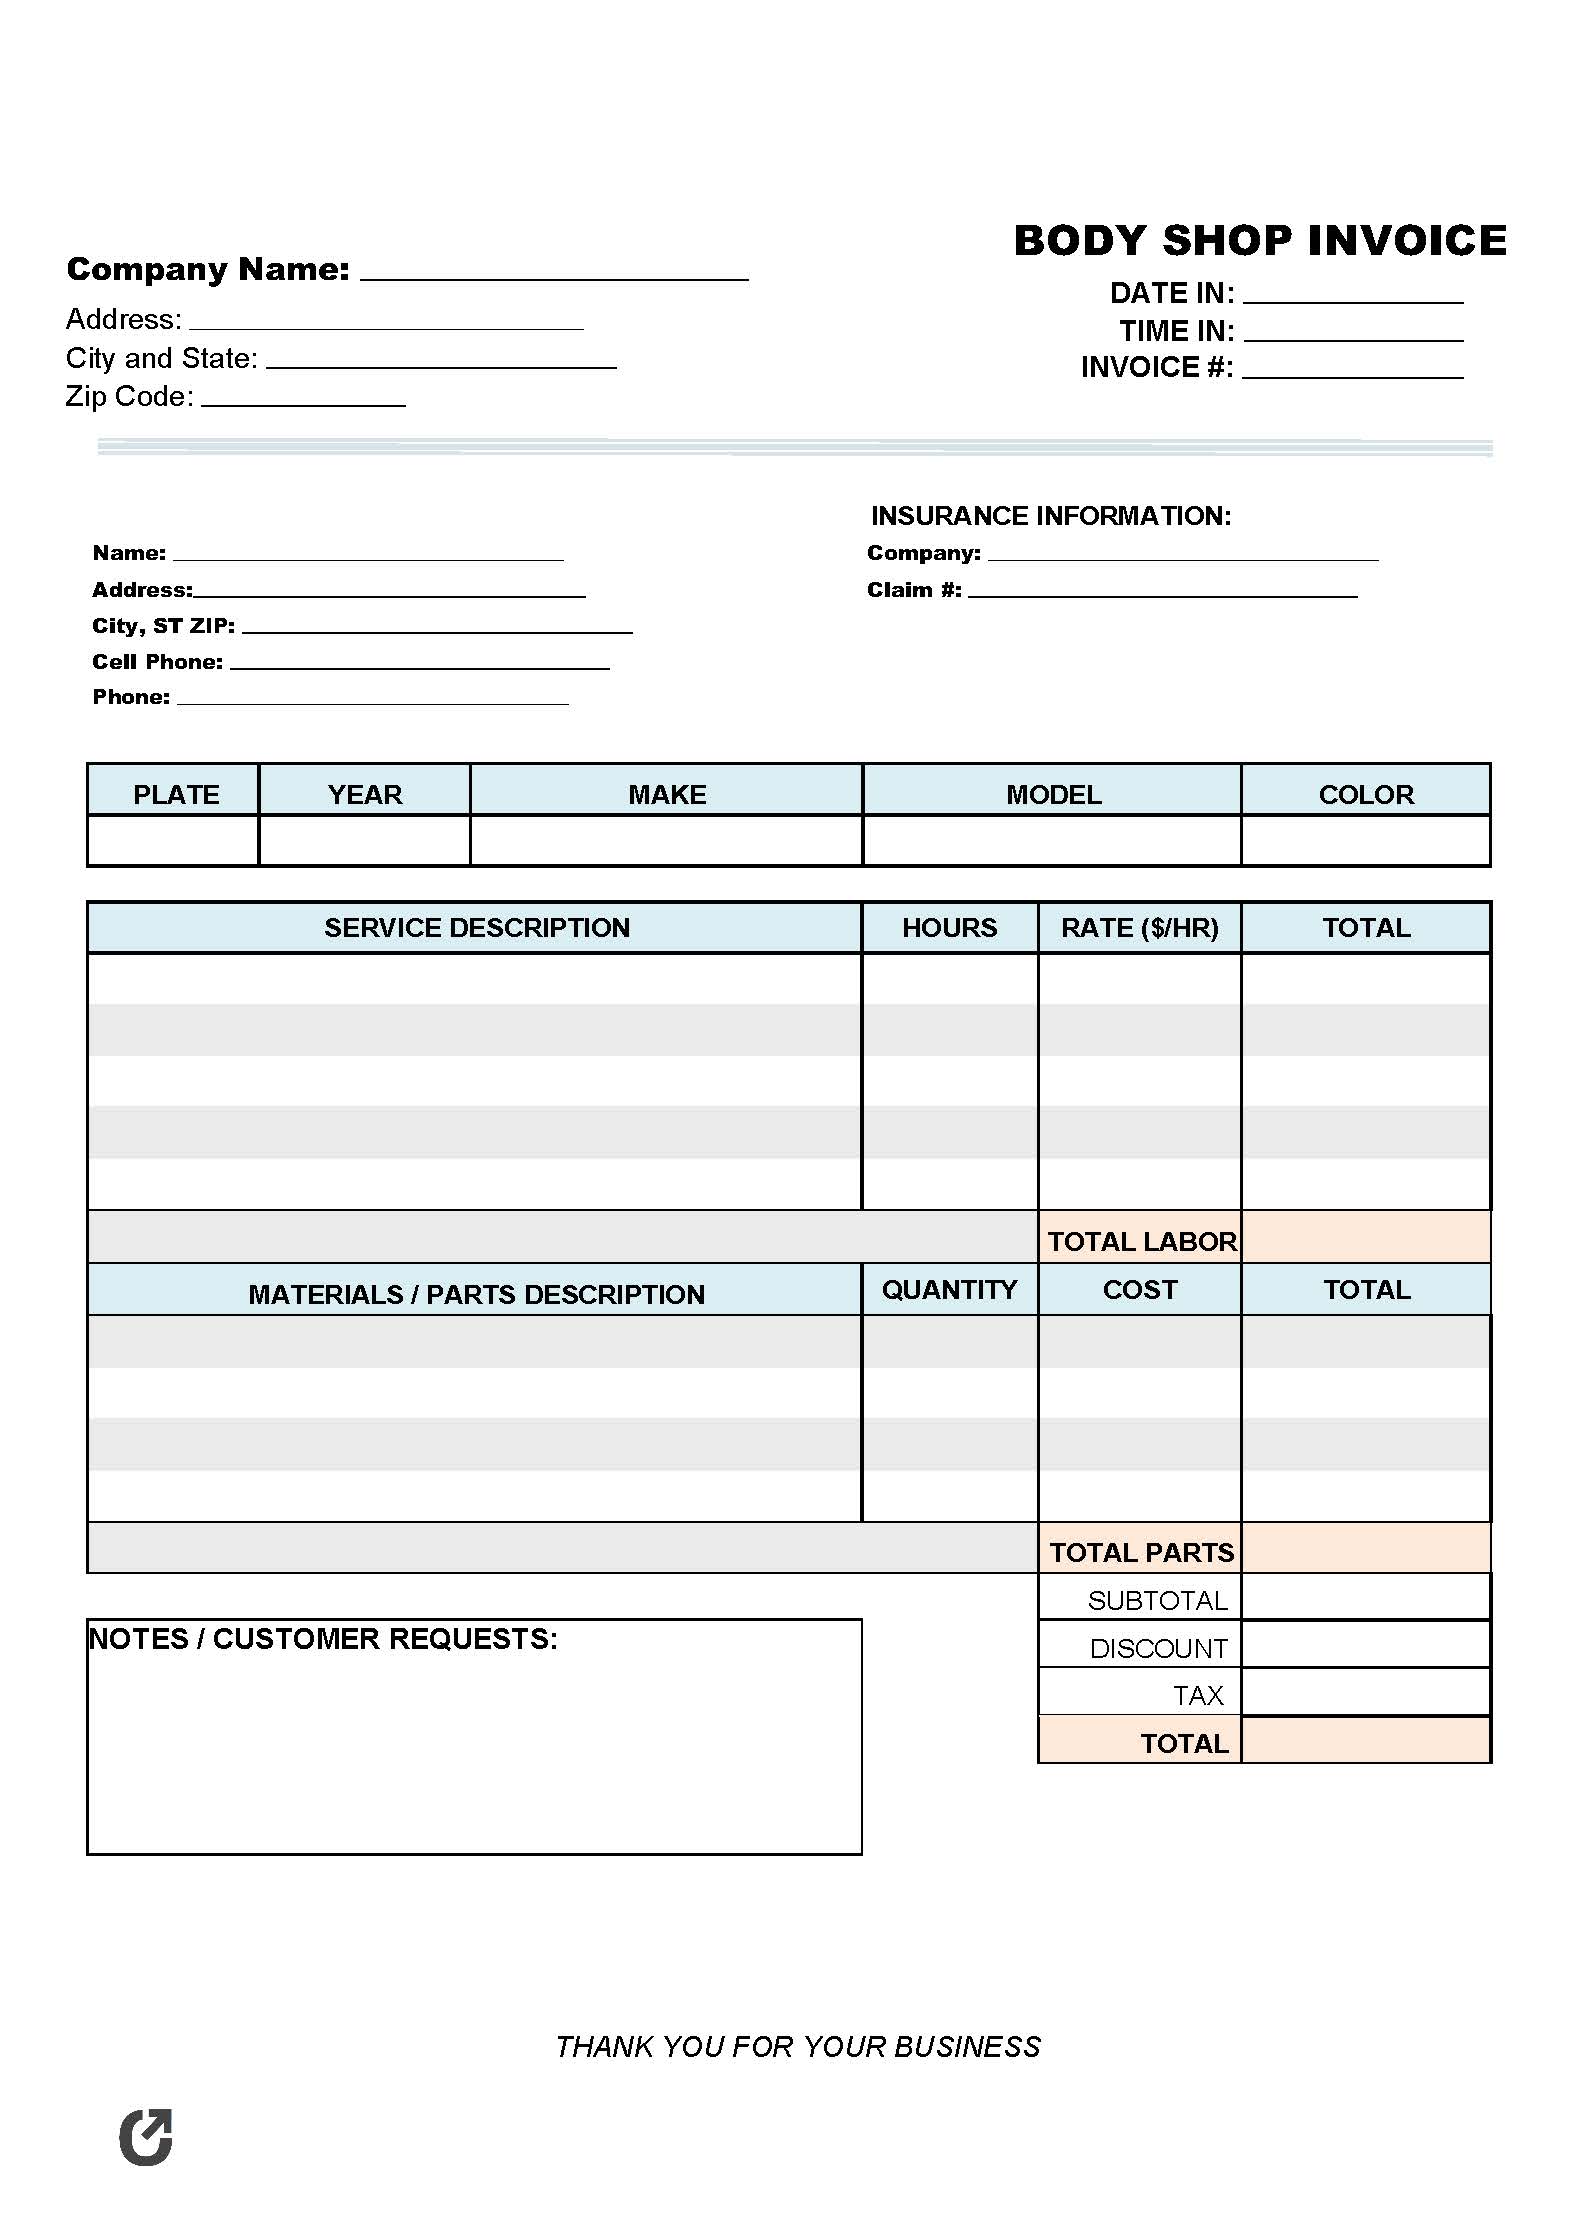
The body shop invoice template is a document that contains fields for listing both the material and labor costs that went into the repairing of a motor vehicle or motorcycle. The form can be used for every type of service provided by body shops, including (but not limited to) repainting, dent removal, panel replacement, frame repair, and internal-component work. Much like a bill, the invoice is issued to customers after completing services.
Mechanic invoice template – for charging customers for non-cosmetic work to a motor vehicle.
Common Body Shop Services
Body repair shops focus on far more than just damage-ridden vehicles. High-end vehicles looking for customizations, paint jobs, and aftermarket parts often go to body shops for work to be done. Furthermore, some body shops specialize in only one (1) or two (2) types of vehicles, such as diesel trucks, high-end sports cars, motorcycles, and more. Common services that are completed by body shops include:
- Dent removal,
- Frame repair,
- Painting (full-body and spot painting),
- Custom installations (OEM and aftermarket),
- Accident-restoration,
- Detailing,
- Window replacement / crack repair,
- and more.
How to Write
Download the invoice in WORD or PDF
Step 1 – Body Shop Contact Info
At the top of the page, enter the name of the body repair company and the full address of the shop. Then, to the right, enter both the time and date the vehicle entered and exited the shop followed by the invoice number. The invoice number can be anything, although going in order can improve the company’s organization.
Step 2 – Customer Contact / Insurance Info
Enter the following customer information:
- Full name,
- Address (street, city, and ZIP),
- Cell phone number (#),
- Home phone number (#) (if applicable),
- Company name of their insurance provider (if the work being done is covered by their insurance), and
- Their claim number (if applicable).
Step 3 – Vehicle Info
Input the following information regarding the customer’s vehicle:
- Plate Number (#),
- Year (20XX),
- Make (Ford, Nissan, Mazda, Chevrolet, etc.),
- Model (F-150, Rogue, Miata, 1500, etc.), and
- Color (Black, red, gold, white, etc.)
Step 4 – Service(s) Description
List the service(s) that were provided for the customer. The description should be concise yet enough information for the client to understand what was done. Then, enter the number of hours spent on each service, followed by the hourly rate ($/hr) charged for each service. Enter the total value for each service by multiplying the hours by the hourly rate. Calculate the “Total Labor” field by adding up all of the service “Totals”.
Step 5 – Materials / Parts Description
Similar to the Service table, enter the number of parts and/or materials that were required for the job. A short description and product code should be entered in the “Description” field. Enter the number (#) of parts required for each part type followed by the cost for one (1) part. Sum the number of parts by the cost and enter the result into the “Total” field. Then, sum the “Total” column to calculate the “Total Parts” field.
Step 6 – Notes & Totals
Sum the “Total Labor” and the “Total Parts” field and enter the result into the “Subtotal” field. If the customer is to receive a discount, enter the discount with a minus sign (“-“) in front of the discount. Calculate any tax and enter it into the “Tax” field. Finally, sum the “Subtotal” and “Tax” fields, minus the “Discount” field (if any). Enter the value that results into the “TOTAL” field.
In the “Notes/Customer Requests” space, enter any special instructions from the customer or any notes on the job that the customer should know. Payment information can also be entered in the field. Once the job is finished, the completed invoice should be sent to the customer.